
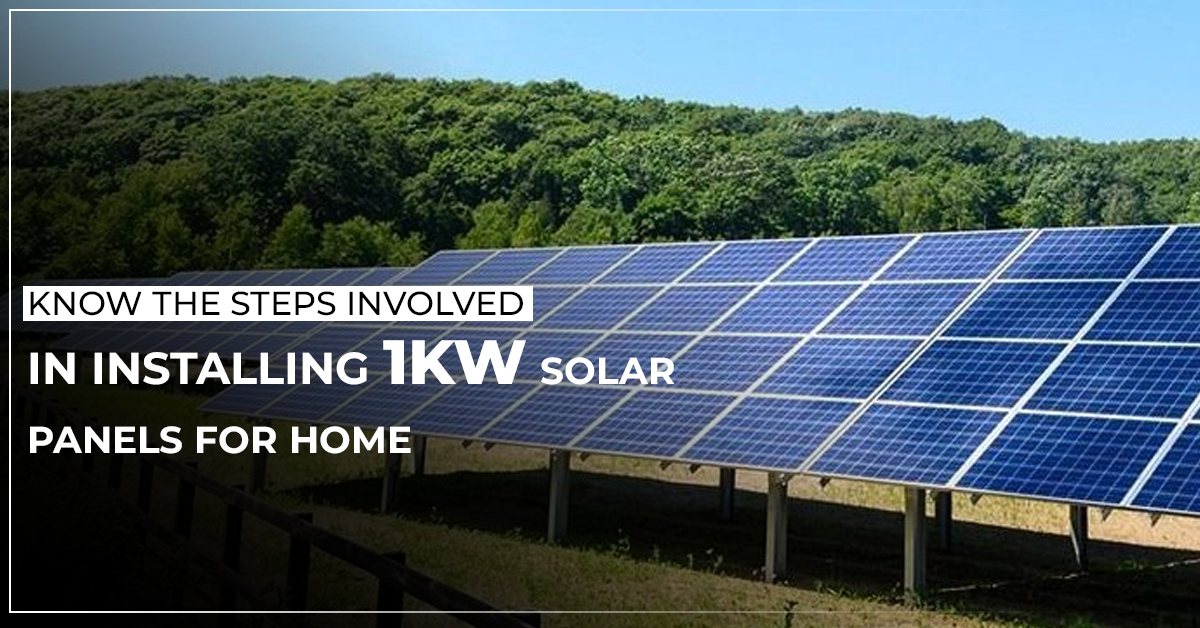
As the world is constantly looking for a sustainable energy resource, a 1 KW solar panel installation is a great way to harness all the benefits of renewable energy and cost-effective electricity bills. Even though a 1 KW solar panel installation is small, it is the right solution for houses with limited roof space or those looking for a sustainable solution. Buhin Solars, the best solar company in Chennai, has curated the steps for installing a 1 KW solar panel system for your home below.
Step 1: Site Assessment:
The foremost step in 1 KW solar panel installation is to analyze and conduct an energy audit of your home to determine the electricity consumption. This analysis will determine the solar panel size that you need. Also, assess the roof orientation, condition, and shading to ensure the space is ideal for the solar panels. The suitable rooftop condition for the solar panel installation is that it should be facing south and be able to receive ample sunlight.
Step 2: Choose The Right Solar Type For Your Home
You must choose the right type of solar system for your home. There are two ways that you should consider at this step,
a. Upgrade:
If you already have a solar panel and need to enhance the solar system, choosing “upgrade” will be an ideal option. So, it typically involves improving the solar systems, such as increasing the solar panel count, inverter upgradation, or integrating batteries with any energy storage solutions.
b. New:
Opting for the “New” solar system type means starting from scratch. This choice is ideal if you do not have a solar panel system and are embarking on a completely fresh installation. It involves selecting the appropriate components, designing the system layout, and ensuring a seamless installation process for your brand-new solar energy solution.
Step 3: Choose The Right Solar Installer:
Select a reputable solar installer with experience in residential solar installations like Buhin solar panel dealer in Chennai. We offer you a suitable solar system that meets your requirements and budget. After finalizing the design, we will take the succeeding steps, such as availing the necessary equipment like inverters, wiring, hardware for mounting, and solar panels.
Step 4: Solar Panel Installation:
The solar rooftop installation process typically involves the following steps:
Roof Preparation:
The installer will prepare your roof by securing mounting brackets or rails to support the solar panels.
Panel Installation:
Solar panels are securely attached to the mounting structure on your roof.
Inverter Installation:
The inverter is installed, which converts DC electricity generated by the panels into AC electricity for your home. For a 1KW system, a microinverter may be used.
Wiring:
Wiring is carefully routed from the panels to the inverter and your electrical panel.
Electrical Connection:
The solar system is connected to your home’s electrical system, and a new production meter may be installed to monitor energy production.
Step 5: Interconnection & Testing:
After installation, a local building inspector or utility representative may inspect the system to ensure it complies with local codes and safety standards. The solar system will be interconnected with your utility grid. You may receive credits for excess energy produced depending on your location and utility. Tests will also be performed to ensure the system functions correctly and efficiently.
Thus, a 1 KW solar panel system requires intricate planning, aligning with local laws, proper installation, and maintenance. Approach Buhin Solars for quality solar panel installation in Chennai that can provide clean energy and cost savings for many years.