Solar energy is sustainable energy, and many solar EPC companies in Chennai, like Buhin Solar, offer a wide range of solar energy solutions for people to embrace. One of the most popular solar energy solutions availed by many is the 5kW solar system, which explicitly reduces your energy bills and carbon footprint.
However, setting up such a system involves several intricate steps, including proper wiring connections. This guide takes you through a comprehensive step-by-step process for wiring connections in a 5kW solar system.
Know Solar Panel Output:
The foundation of a well-functioning solar system begins with comprehending your solar panel’s output. Each panel generates a certain amount of electricity, typically measured in watts (W).
Start by examining the specifications provided by the manufacturer. Note the panel’s wattage, voltage, and current ratings. Panels are often grouped into strings and arrays, so calculate the total wattage for each group. This information will guide subsequent wiring decisions and help you determine the optimal configuration for your system.
Solar Inverter’s MPPT Input Voltage Range:
Step two of this guide emphasizes knowing your solar inverter’s MPPT input voltage range. This range ensures optimal performance by allowing the inverter to track the maximum power point of the solar panels. Consult your inverter’s specifications and adhere to the recommended voltage range during installation. This crucial step ensures efficient energy conversion, maximizing your system’s potential and long-term benefits for your wallet and the environment.
Wiring The Solar Panels
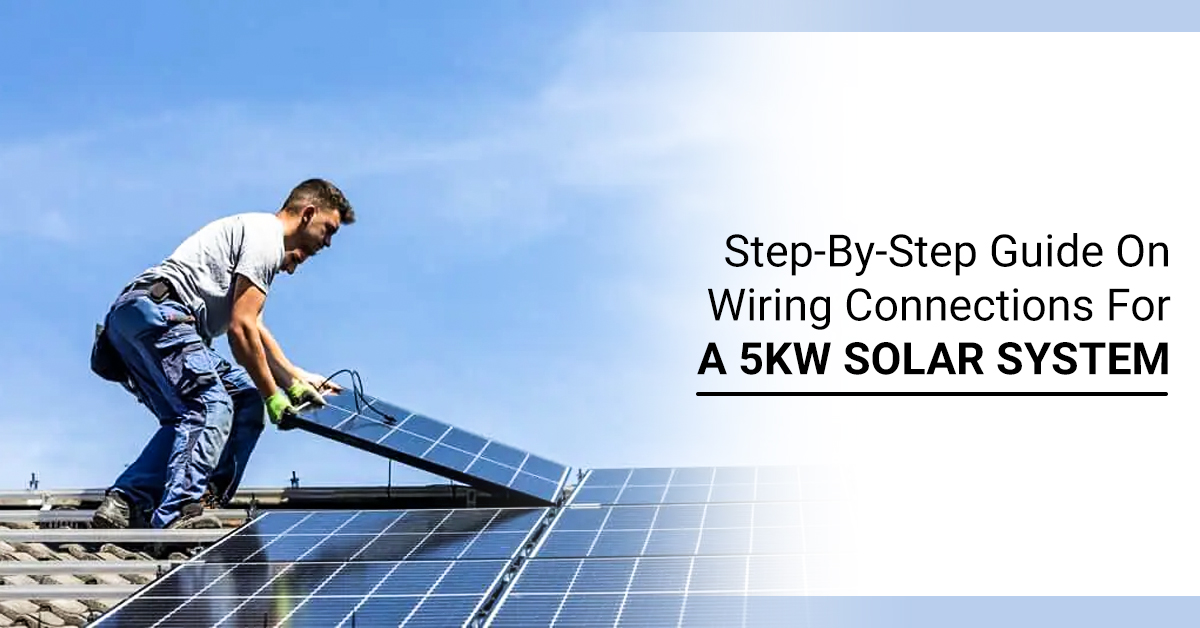
In this phase, you will be wiring the solar panels once the panels are mounted. A 5 KW solar system comes with 10 panels, which can be wired as 5 strings with 2 panels.
In this scenario, you’ll require a 4 square millimeter DC wire to elongate the wiring from the solar panels to the DC Distribution Box (DCDB). The length of the 4 square millimeter DC wire depends upon the distance between the solar panels and the designated area for DCDB installation. Additionally, you’ll need a set of five pairs of 1-in-1-out MC4 connectors to facilitate the extension of the wiring. Utilizing MC4 connectors offers several advantages, including secure connections that mitigate the risks of sparking and loose connections and provide an aesthetically pleasing appearance, among other benefits.
DCDB Solar Wiring:
DCDB installations are carried out securely, away from moisture, dust, and extreme temperatures. These installations are strategically placed to enable swift shutdown by individuals in case of any faults within a solar power plant. The technical configuration of the DCDB typically follows a 5-in-2-out specification.
When engaged in solar wiring procedures, it’s essential to have 10 wire thimbles, a heat sink, and a lighter on hand.
DCDB With Solar Inverter:
In this phase of solar installation Chennai, DCDB is connected to the solar inverter. This phase initiates with the requirement of 10 sq. mm. DC Wire pairs, accompanied by wire thimbles and a heat sink.
Generator To Solar Inverter:
A solar inverter comprises three distinct input sources: solar power, the grid or a generator, and a battery. In the case of a hybrid solar inverter, there is an independent grid input originating from the primary distribution board. A 6 sq. mm. 3 Core AC wire is necessary to establish a connection to the grid. To safeguard the solar inverter against elevated voltage, power surges, and maintenance-related concerns, a 63 Amp. ACDB (Alternating Current Distribution Board) is employed.
Solar Battery to Solar Inverter:
In the realm of 5kW hybrid solar inverters, two distinct categories of battery options exist: Lead Acid and Lithium Batteries. If you prefer lead-acid batteries, you will require four 150Ah solar batteries. Conversely, if your inclination is towards lithium batteries, a singular CAML10048 lithium battery will suffice.
Solar Inverter and AC Output:
Once all input sources (solar, grid, battery) are interconnected for solar rooftop installation, the subsequent step involves linking the solar inverter to the AC output. This process entails utilizing a 32 Ampere changeover switch between the solar inverter and the load distribution network. The connection is established using a 6 square millimeter, 3-core AC wire. The actual length of the AC wire is contingent upon the specific installation area of both the inverter and the load distribution box.
Testing:
Before starting, check the input/output voltage from the solar, battery, and grid sides. Upon detecting DC side input, the inverter emits a beep to indicate normalcy before proceeding. Once the power button is activated, power support commences, and you should verify the output voltage against the inverter datasheet’s specifications. If all checks out, initiate the solar side input and, subsequently, the grid side input.
IoT Setup:
A hybrid solar inverter integrates both hardware and software elements. Once the solar inverter is activated, specific essential configurations must be set up. These configurations are typically managed by technical engineers employed by solar inverter manufacturers.
Setting up a 5kW solar system involves careful planning and meticulous execution, especially regarding wiring connections. Buhin Solar, one of the top solar companies in Chennai, adheres to this step-by-step guide to ensure a safe and effective installation that harnesses the power of the sun to provide clean and renewable energy for your household.


